This guide goes over resource gathering in My Neighbor Alice. It provides a list of all the tools use to gather basic resources with where and how to get them.
All of the following resources will appear on your land. They must be harvested using the correct tier of tools, which can be either crafted or bought. There is no level requirement to use any tier tools.
Resources can only be gathered from your own land, or land that is shared with you cooperatively.
All tools are crafted on your anvil.
Tier 1
5 of each Tier 1 resource will be available on your land
| Resource | Respawn time | Gathered with | Tool blueprint obtained from |
|---|---|---|---|
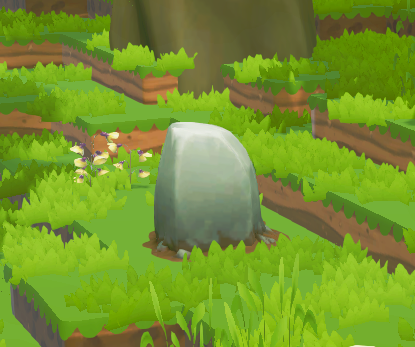
Common Stone | 14 hours | 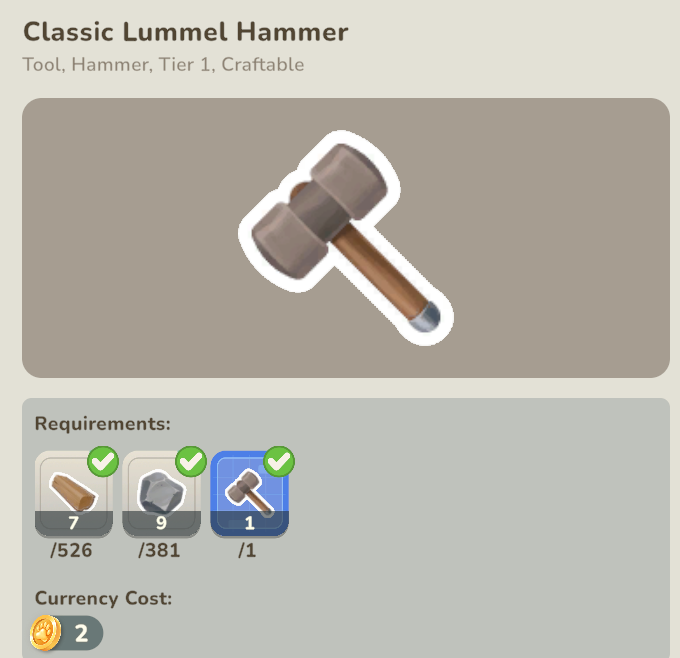 | Alice Quest: Hammer Time |
Island Silt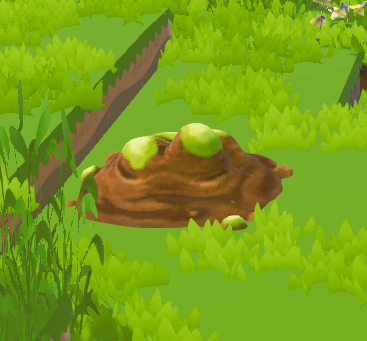 | 6 hours | 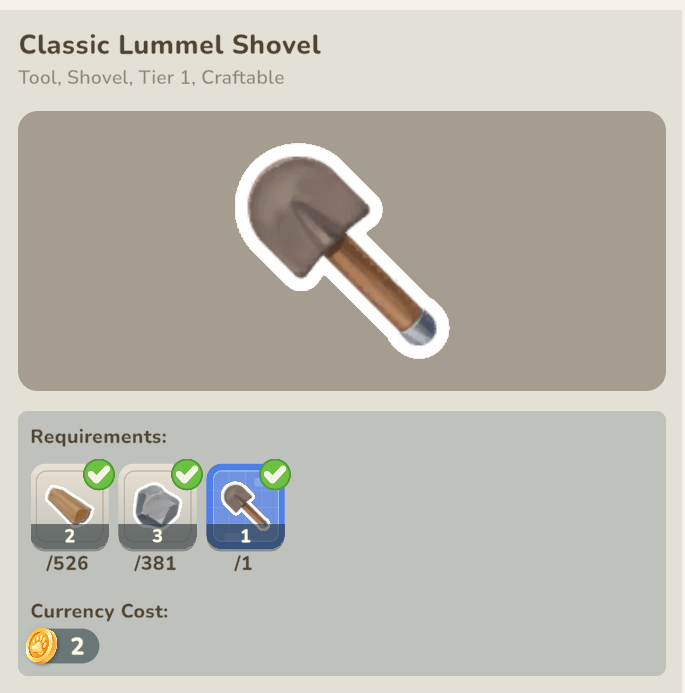 | Alice Quest: Hammer Time |
Gleaming Copper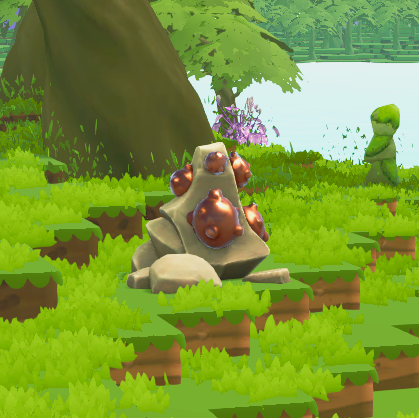 | 15 hours | 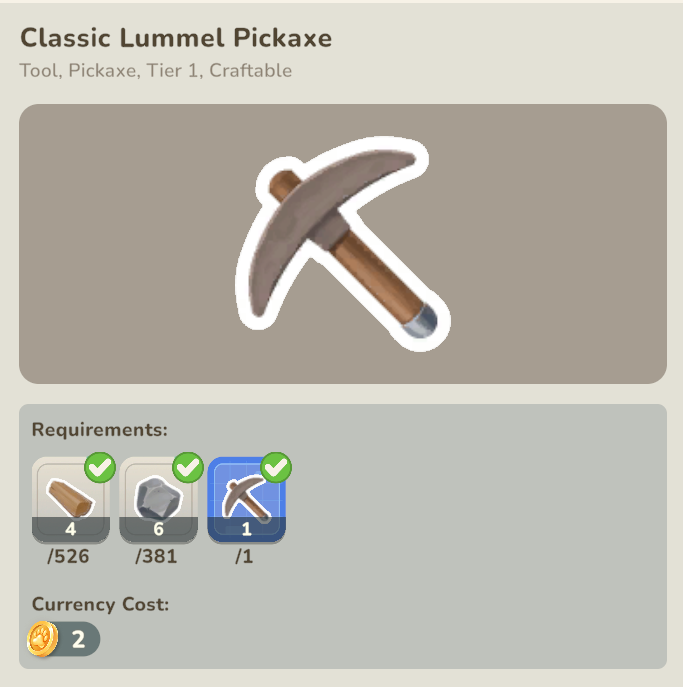 | Alice Quest: Hammer Time |
Wildweed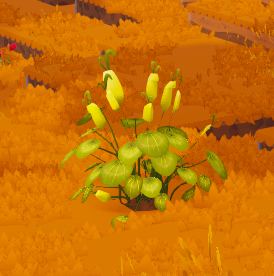 | 6 hours | 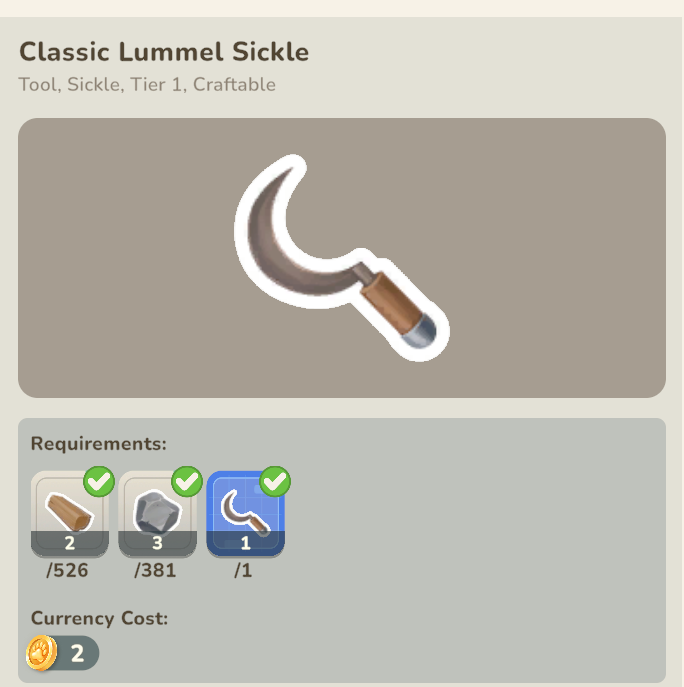 | Alice Quest: Hammer Time |
Samara Wood | 14 hours | 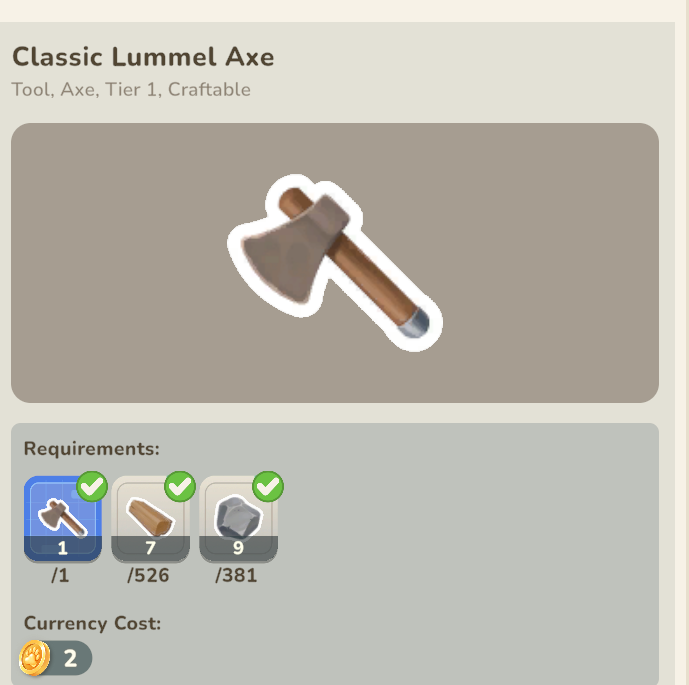 | Alice Quest: Hammer Time |
Tier 2
To gain access to tier 2 tools you must complete quests from Jose. Jose will give you these quests on your land at the end of the starter quest line. These quests will send you to different town hubs where you will find other NPCs with the quests for each tool.
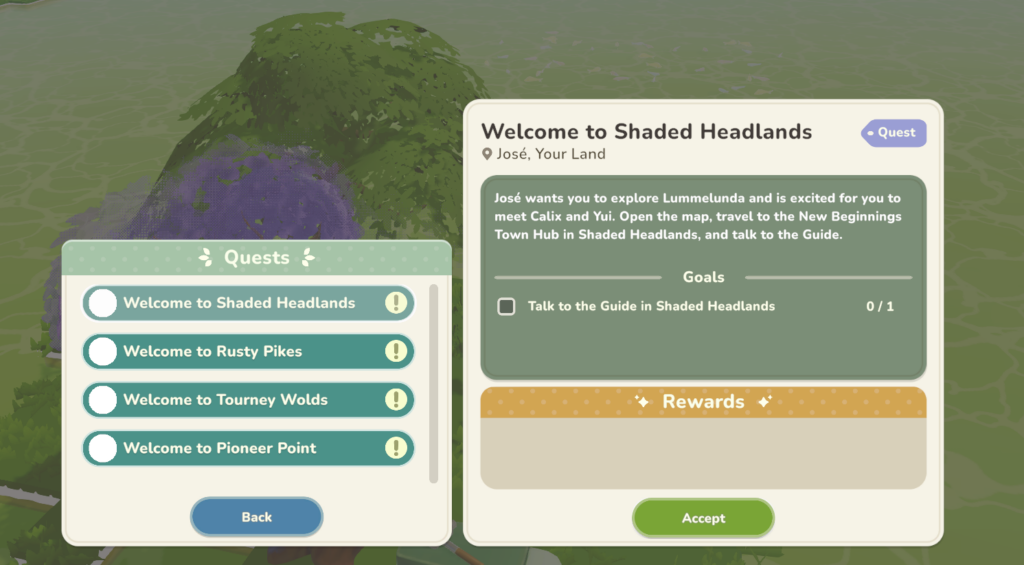
Once you have arrived at each town hub, speak to the guide there. This will open up quests in that area.
3 of each Tier 2 resource will be available on your land
| Resource | Respawn time | Gathered with | Tool blueprint obtained from |
|---|---|---|---|
Greenstone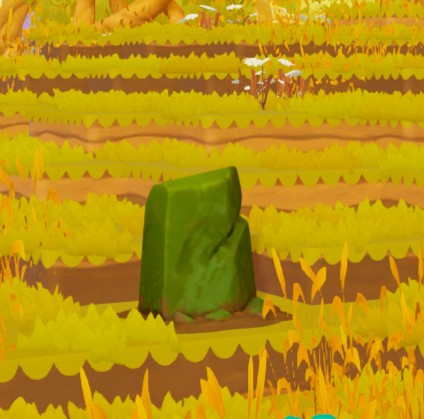 | 17 hours | 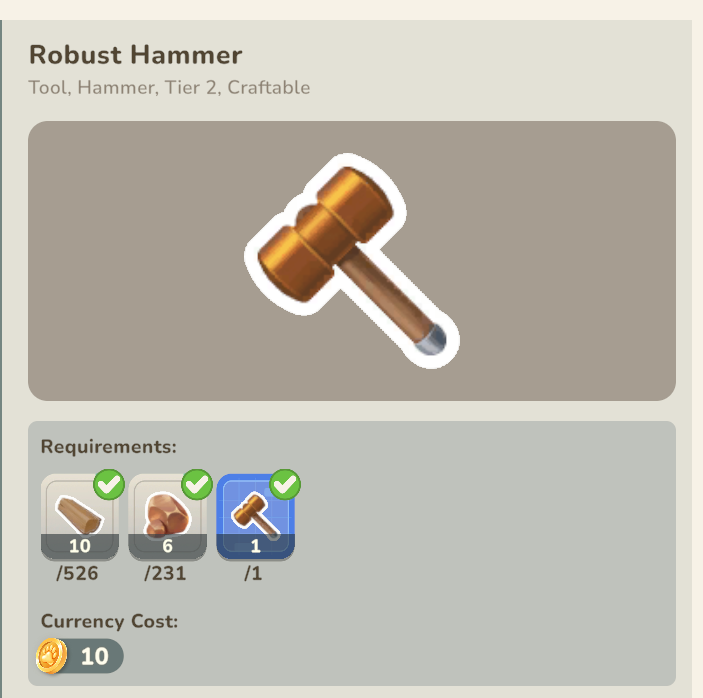 | Monica in Rusty Pikes |
Reef Sand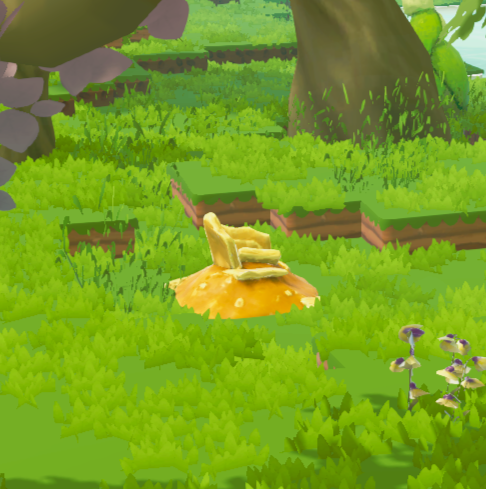 | 10 hours | 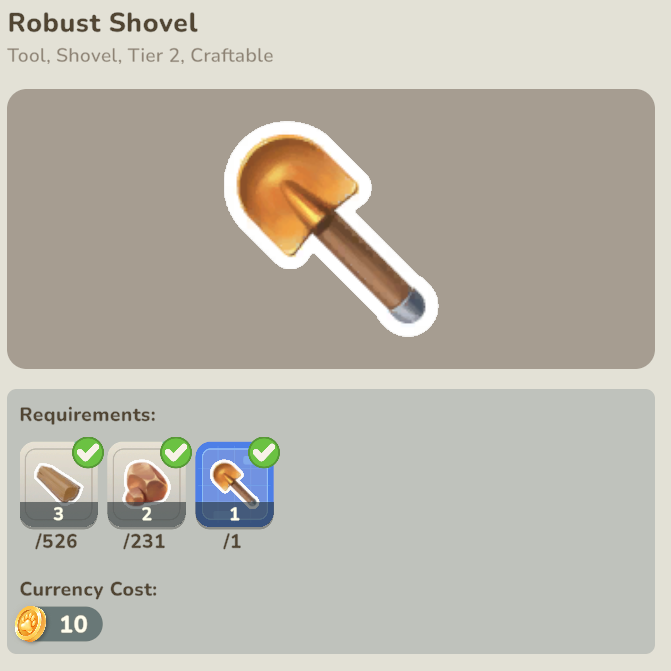 | Hidi in Rusty Pikes |
Fine Iron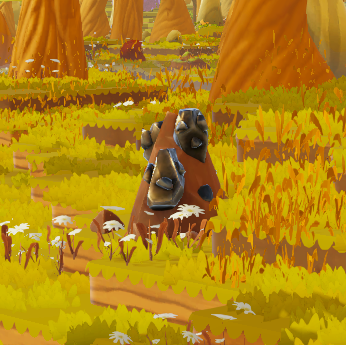 | 19 hours | 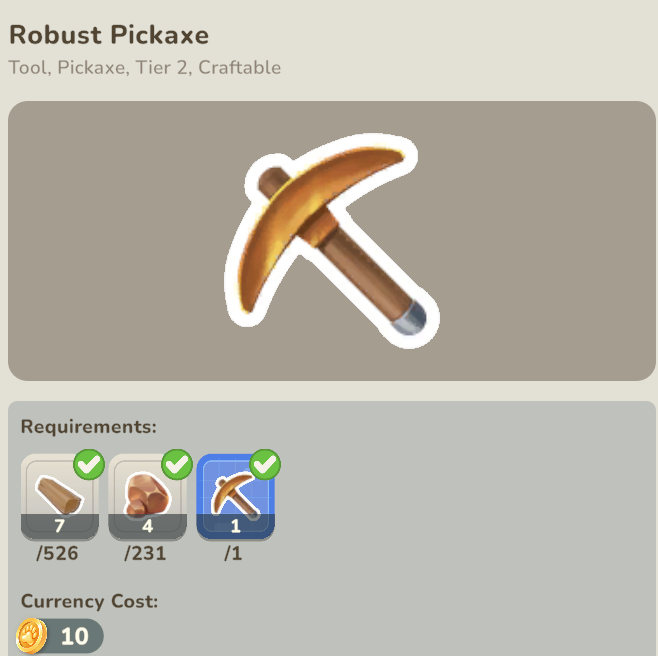 | Will in Tourney Wolds |
Milkweed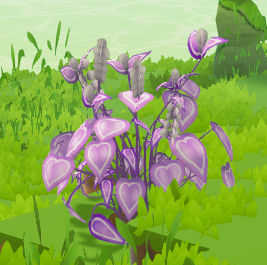 | 10 hours | 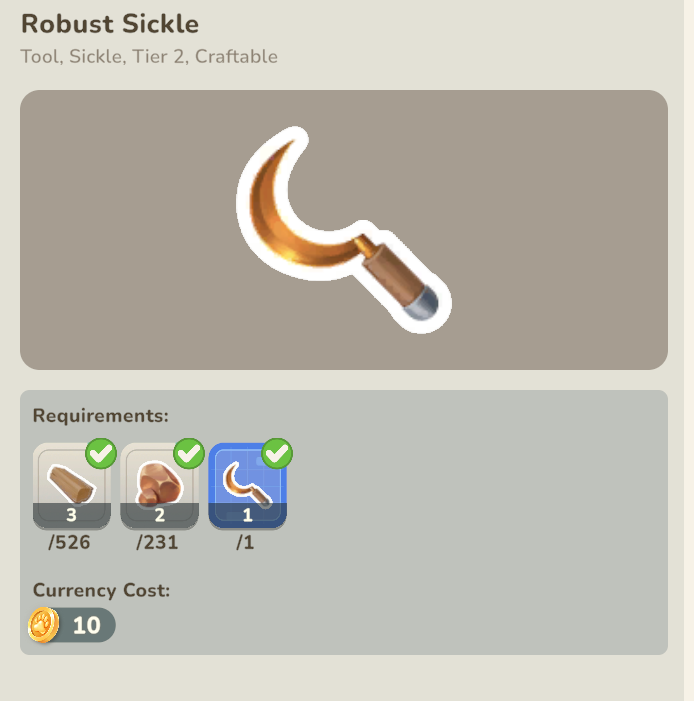 | Calix in Shaded Headlands |
Lummel Birchwood | 17 hours | 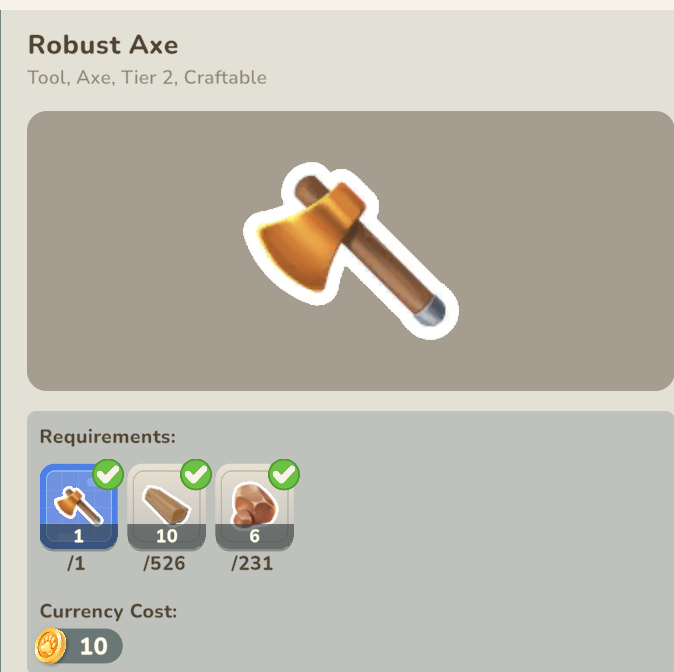 | Derik in Two Tails |
Tier 3
Quests for tier 3 tools follow the quest line for tier 2 tools. T3 tools can however be purchased and be used by any player independent of the blueprint quest line.
2 of each Tier 3 resource will be available on your land
| Resource | Respawn time | Gathered with | Tool blueprint obtained from |
|---|---|---|---|
Corestone | 22 hours | 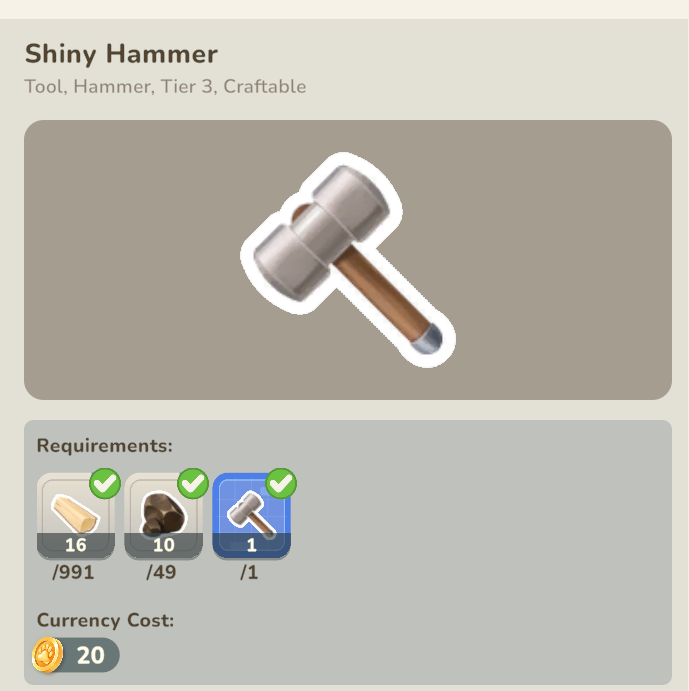 | Monica in Rusty Pikes |
Saltshale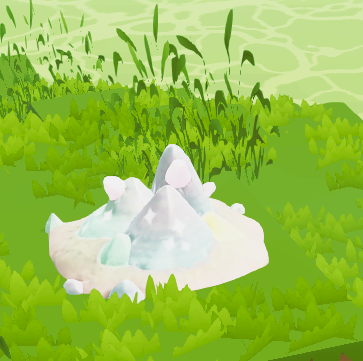 | 14 hours | 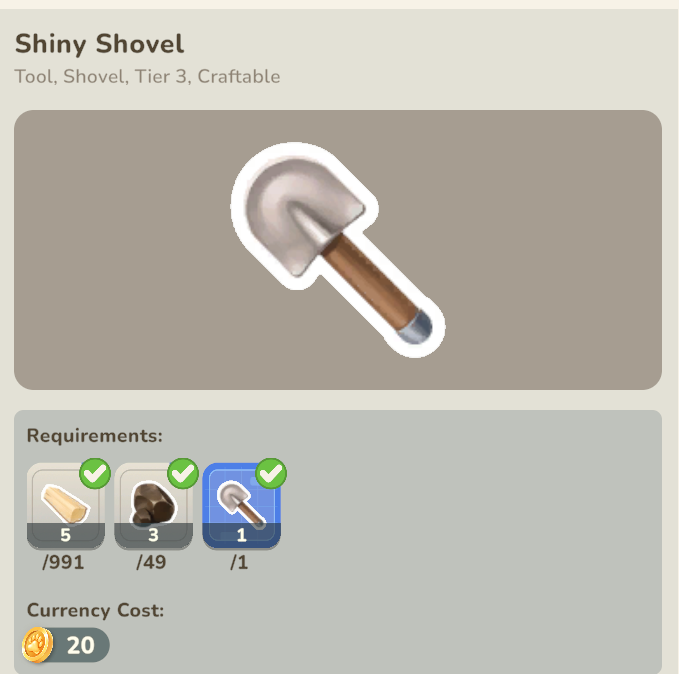 | Hidi in Rusty Pikes |
Reef Tin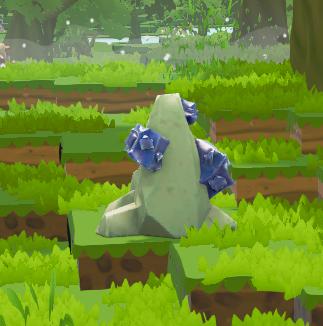 | 23 hours | 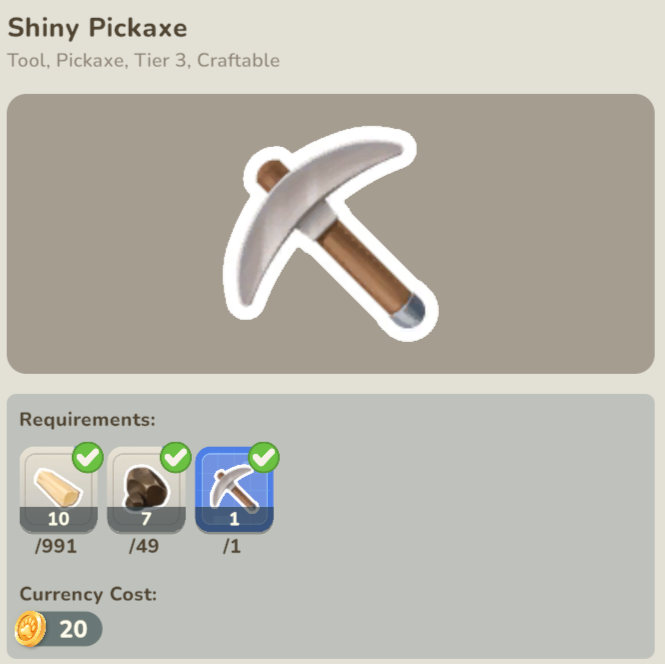 | Will in Tourney Wolds |
Dandeltuft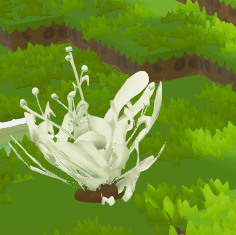 | 14 hours | 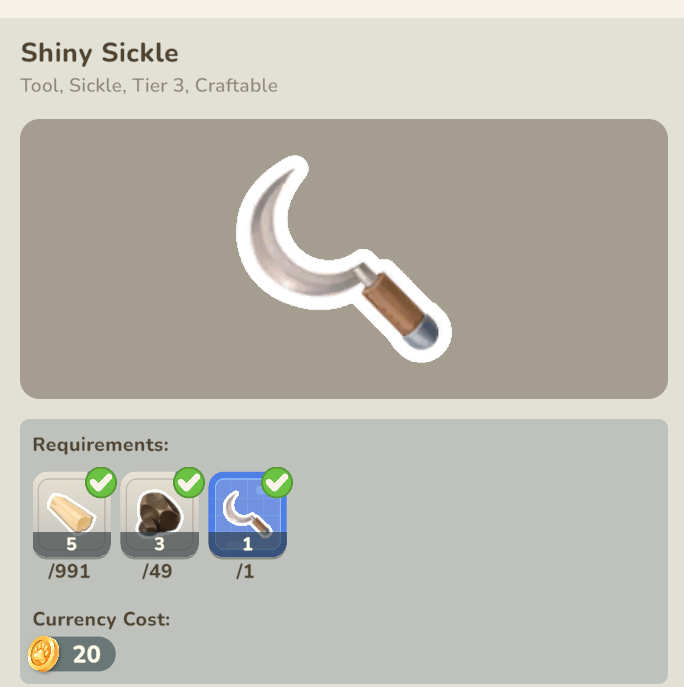 | Calix in Shaded Headlands |
Ek Wood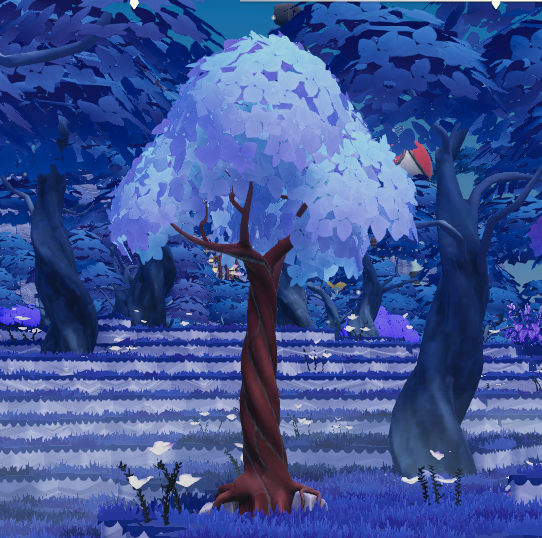 | 22 hours | 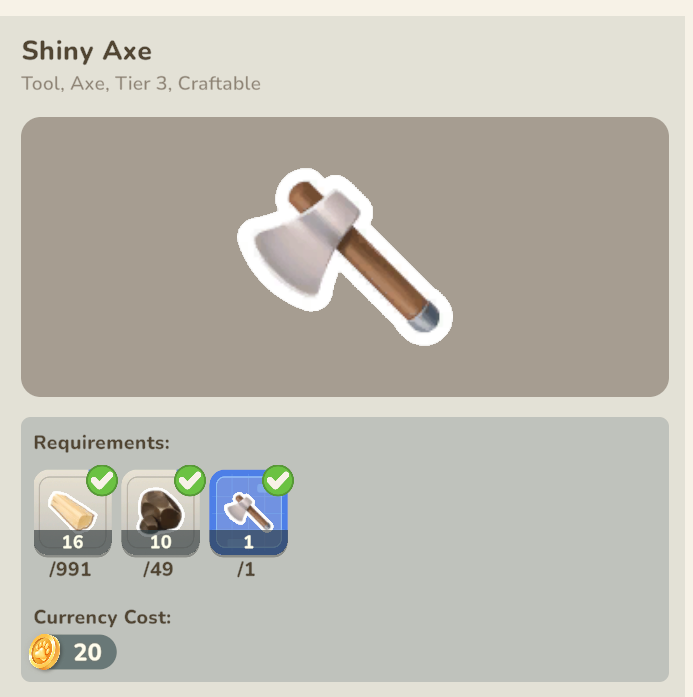 | Derik in Two Tails |
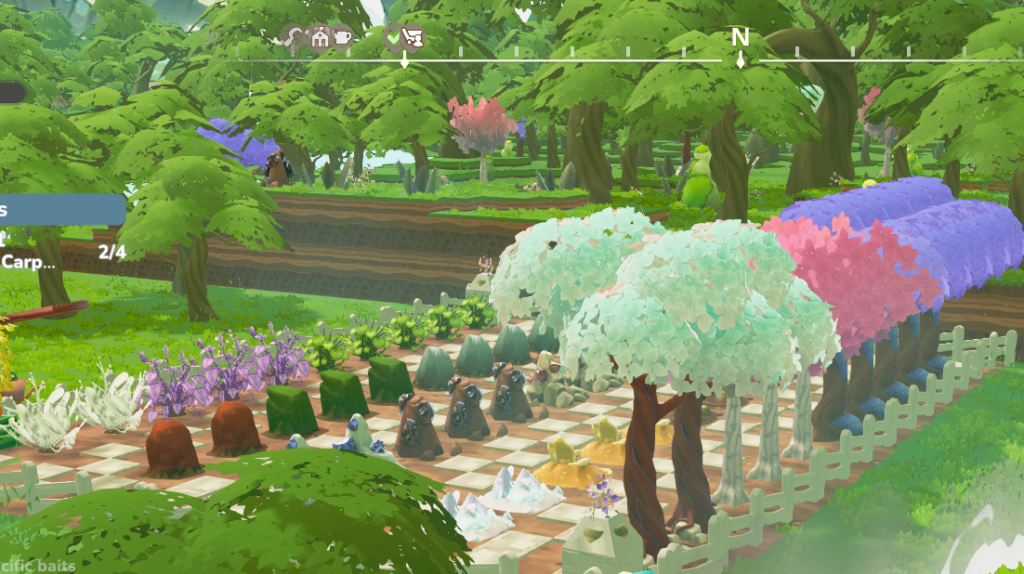
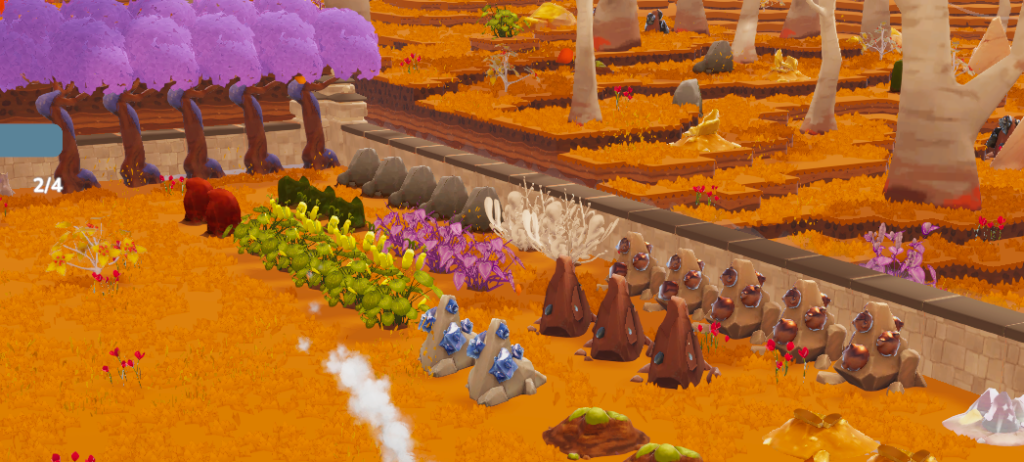
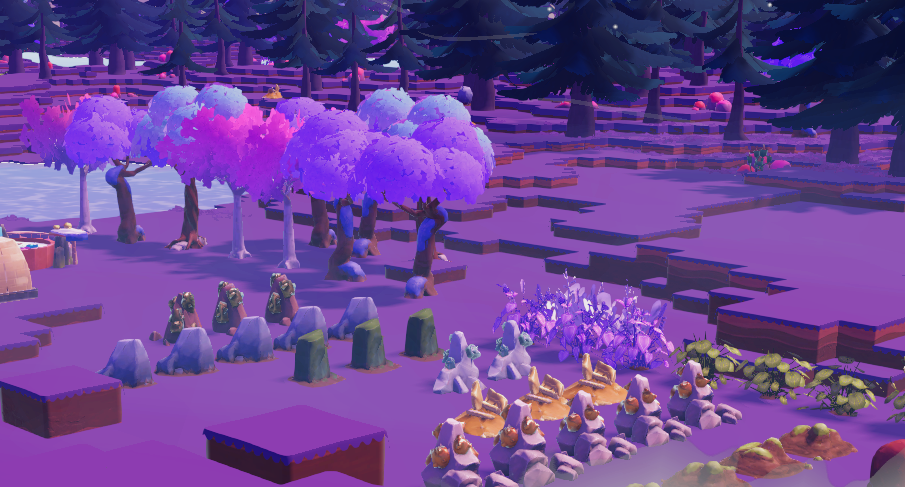
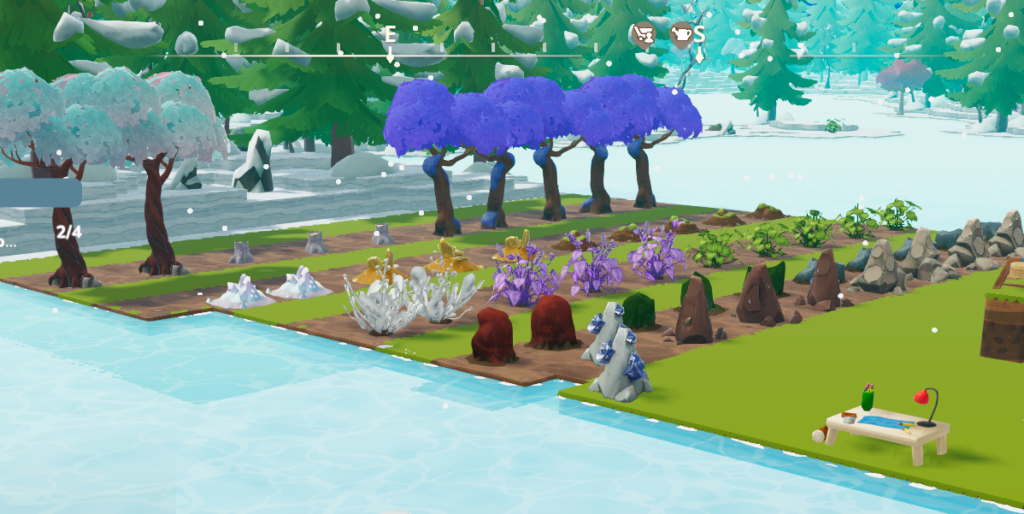
Organizing Your Land
It’s cumbersome to run all around your land to collect your resources. To save time, you can organize the location of each resource and to put them all in one place for easier collection. It may help to flatten your land with a landscape voucher. Otherwise, you’ll need to find land that’s flat enough to place the resources easily.
Some samples of organization are provided below.
How to Move Resource Nodes
To move your resource nodes press the B key. This will bring up the build menu. On the very top left side, click the toggle slider from the house icon to the trees Environment icon.
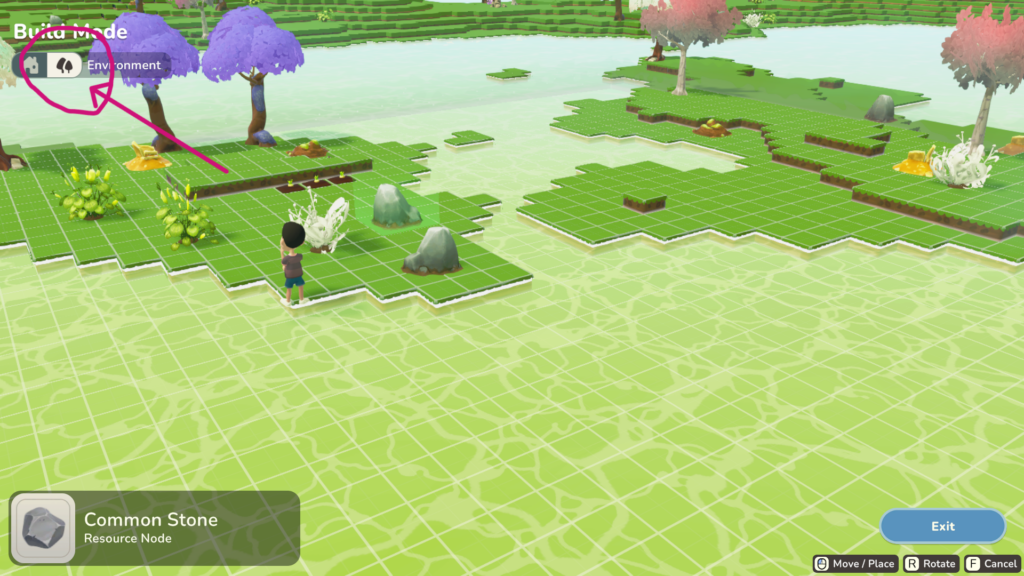
This will allow you to pick up the nodes and move them around to where you want to place them.
When in Build Envornment mode, the vegetation will disappear and you can place your nodes where it used to be.
Note that if you place nodes on higher ground, you will not be able to raise, or lower the squared underneath it in Landscape mode.
Align your resources to suit your collection style.
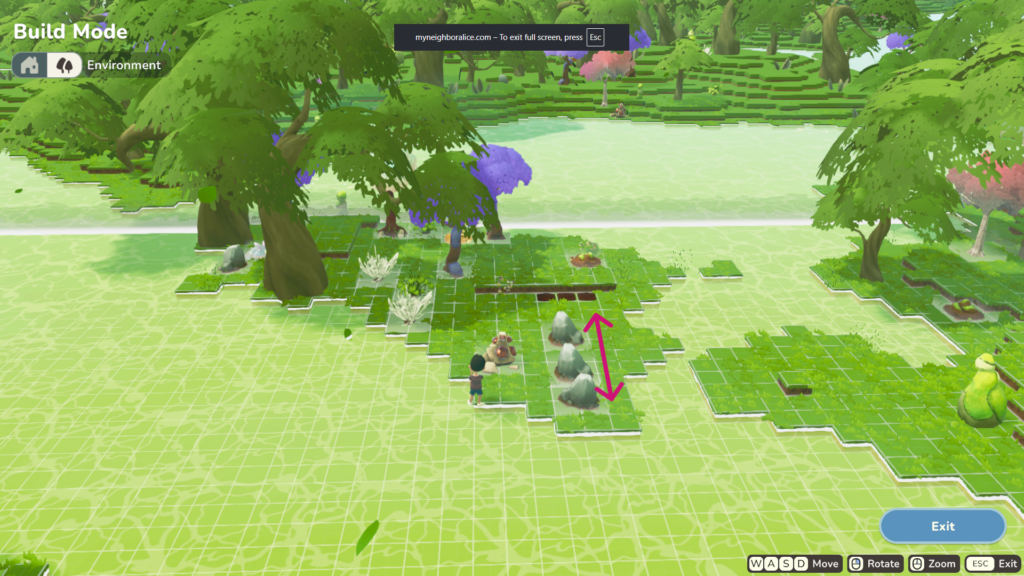
When you have finished press B again to exit build mode. You can always come back and redo it.
Build mode is free, unlike Landscape mode. Landscape mode Landscaping Permit and a Landscaping voucher. These can be obtained from a quest or purchased on the market.